If you’re here, chances are you know how crucial Chrome anilox rollers are for your printing, packaging, or flexographic operations. Maybe you’ve noticed inconsistent ink laydown, streaks on your prints, or a drop in overall quality lately—9 times out of 10, that’s crusted ink, dried solvents, or micro-debris clogging those tiny engraved cells. As a Chrome Anilox Roller supplier, I’ve worked with hundreds of operators who try rushing a clean job and end up damaging the roller’s chrome layer (yep, that’s a costly mistake). Today, I’m walking you through a science-backed, step-by-step clean that will get your roller performing like new—no guesswork, no damage. Chrome Anilox Roller
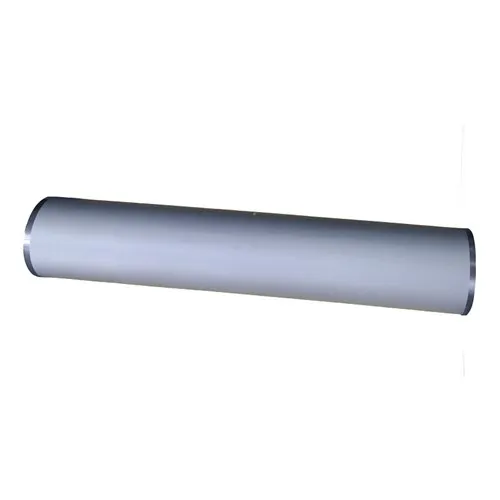
First, let’s talk about why this matters. I get it—you’re swamped, and cleaning a roller feels like a chore you’d rather skip. But here’s the thing: a dirty anilox isn’t just inefficient. It’s killing your uptime, ruining print runs, and forcing you to replace rollers way sooner than you should. The chrome plating on our rollers is a dense, wear-resistant layer, but it’s not indestructible. Harsh scrubbers, abrasive pads, or even the wrong solvent can etch tiny scratches in that chrome, which then trap even more debris over time. So the goal isn’t just to get the gunk out—it’s to do it without harming the roller’s surface or its delicate cell structure (those cells are what carry ink, after all; a clogged cell = bad ink transfer).
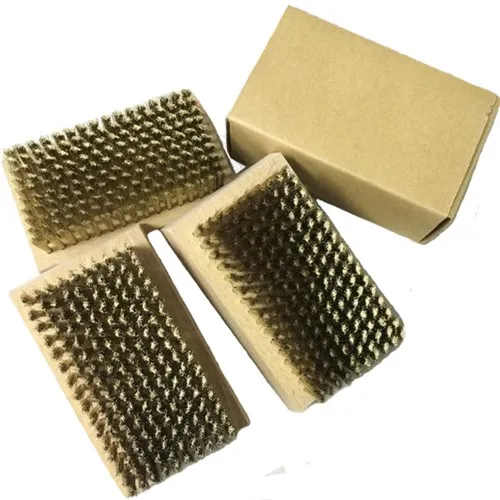
Before we dive in, let’s run through the must-have supplies. I’ve tested dozens of products with our clients, and these are the ones that work without risk. First, a lint-free microfiber cloth—paper towels leave tiny wood fibers that get stuck in cells, trust me, I’ve seen it. Next, a pH-neutral ink solvent. Avoid acetone or rubbing alcohol—they break down the chrome’s protective layer over repeated use. Instead, go for a solvent formulated for flexo inks (water-based or solvent-based, whatever you use). Then, a soft-bristled nylon brush—stiff wire brushes are a hard no, they’ll scratch chrome. For tough, set-in gunk, a plastic putty knife (blunt edge only!) to gently scrape surface buildup, and finally, a non-abrasive chrome polish for post-cleaning touch-ups (optional, but nice for extending lifespan).
Now, timing is everything. The best time to clean a roller is right after your print run ends—while the ink is still wet. Letting ink dry overnight is like gluing it into the cells; you’ll need way more elbow grease, and you’ll risk damaging the chrome. If you can’t clean right away, wrap the roller in a damp lint-free cloth to keep ink from drying out. Don’t just leave it sitting uncovered—specks of dust in the air will mix with drying ink and create a nightmare to remove.
Let’s get to the step-by-step, and I’ll add pro tips I’ve picked up from years supplying and supporting Chrome Anilox Rollers:
Step 1: Prep the workspace and roller. First, move the roller to a flat, clean surface (no debris on the table!). Put on nitrile gloves—solvents can irritate skin, and you don’t want oil from your hands transferring to the chrome, which attracts dirt later. Remove any end caps or mounting hardware gently—don’t yank them, they’re precision-fit. If there’s any loose ink buildup on the surface, use your blunt plastic putty knife to skim it off lightly, going with the grain of the cells (scraping against the grain will catch and damage cells).
Step 2: Apply the solvent and let it dwell. Pour a small amount of your pH-neutral ink solvent onto the microfiber cloth (don’t drench it—too much solvent can seep into the roller’s core and cause swelling). Wipe the cloth evenly over the entire roller surface, making sure to cover every inch. Now, wait 1–2 minutes. This is key: letting the solvent break down the ink before scrubbing means you won’t have to scrub hard, reducing scratch risk. If your roller has heavy ink buildup (like after a run with thick UV ink), let the solvent dwell for 3–4 minutes—just don’t let it fully evaporate. If it starts drying, spritz a tiny bit more solvent to keep the area damp.
Step 3: Scrub gently, methodically. Take your soft nylon brush and scrub the surface in circular motions, following the direction of the engraved cells. Don’t press hard—let the brush’s soft bristles do the work. For areas with stubborn clogs (you’ll see tiny black spots in the cells), use the tip of the brush (not the whole bristle head) to work the solvent into the cell and loosen the debris. Go over the entire roller 2–3 times, rotating it slowly as you go so you don’t miss any spots. If you’re using a solvent for water-based inks, this step should take 5 minutes max; solvent-based inks might take a bit longer, just be patient. I always tell my clients: if you see ink or gunk coming off the brush, that’s a good sign—keep going until the brush barely has residue on it.
Step 4: Rinse and dry thoroughly. This is the step most people mess up. Residual solvent or leftover ink will attract more dirt next time you use the roller. Take a separate clean microfiber cloth dampened with warm (not hot!) water, and wipe the entire roller to rinse away any leftover solvent and debris. Then, dry immediately with a dry, lint-free microfiber cloth, buffing in gentle circular motions until the surface is completely streak-free. Don’t let air dry—air can leave water spots, which can etch the chrome over time. If you notice a few faint streaks after drying, a tiny amount of non-abrasive chrome polish rubbed lightly with a microfiber cloth will fix it.
Step 5: Store it right (super important for extending roller life). Once the roller is dry, don’t just toss it in a corner. Wrap it loosely in a clean, lint-free cloth (tight wrapping can trap moisture) and store it horizontally in a cool, dry area—never vertically, that can warp the core over time. If you’re storing it for more than a week, add a small desiccant packet in the wrap to absorb any moisture in the air. Never store it near harsh chemicals or in direct sunlight—sunlight can fade the chrome and break down the protective layer.
Now, let’s cover the mistakes I see all the time that cause damage. First, using abrasive tools. Wire brushes, steel wool, or even scouring pads will scratch the chrome, and those scratches will hold more ink and debris next time, turning a small issue into a big one. Second, using the wrong solvent. Acetone and isopropyl alcohol are big no-nos—they strip the chrome’s passive layer, making it more prone to corrosion and wear. Third, rushing the dwell time. If you skip letting the solvent break down the ink, you’ll scrub harder, leading to scratches and cell damage. Fourth, not drying the roller completely. Water spots are tiny, but over time, they can etch the chrome, shortening the roller’s lifespan by 30% or more (I’ve tracked this with clients over 5 years—no joke).
Wait, what if you have really tough, set-in gunk? Like, if you left the roller sitting for a week and ink dried hard? Don’t panic—just repeat the solvent application step, letting it dwell for 5 minutes, then use a soft nylon brush with a little more pressure, but still not too much. If that doesn’t work, don’t try scraping hard or using harsh chemicals. Reach out to me (I’m the supplier, remember?)—we offer professional ultrasonic cleaning for rollers with severe buildup, which is way safer than DIY methods and will get the roller back to like-new condition.
Also, let’s talk about frequency. How often should you clean your Chrome Anilox Roller? It depends on your operation, but a good rule of thumb is after every 2–3 print runs, or at the end of each work week if you’re running short runs. If you’re running long, continuous runs, clean it at the end of each shift. Don’t wait until you see streaks—proactive cleaning is way easier than reactive fixes.
Now, I know some of you are thinking, “This is great, but what about when my roller’s cells are permanently clogged?” That’s normal, and it’s why regular, proper cleaning matters. A well-maintained roller can last 5–7 years, while a neglected one might need replacement in 1–2 years. That’s a huge cost difference, right? As your Chrome Anilox Roller supplier, we don’t just sell you a roller and disappear—we give you these tips because we want your rollers to last as long as possible, which means less work for you and more business for both of us.
If you’re tired of dealing with inconsistent print quality, shortened roller lifespans, and messy DIY clean jobs, it’s time to upgrade your roller maintenance game. Our team has years of experience with Chrome Anilox Rollers, and we can help you pick the right roller for your press, share customized maintenance tips for your specific operation, or handle professional cleaning for tough cases. Don’t hesitate to reach out to our team for a consultation or to place an order—we’re here to help you keep your presses running smooth and your prints perfect.
Micro Gravure Roll References:
- Flexographic Technical Association. (2020). Anilox Roller Maintenance Best Practices. FTA Printing Journal.
- American Chrome Plating Association. (2021). Care and Cleaning of Chrome-Coated Printing Components. Industrial Surface Finishing Report.
- International Association of Printing Operators. (2019). Preventive Maintenance for Anilox Rollers in Flexographic Operations. Printing Industry Safety & Maintenance Guide.
Kunshan Hanhan Co., Ltd.
We’re well-known as one of the leading chrome anilox roller manufacturers and suppliers in China. We warmly welcome you to buy high quality chrome anilox roller made in China here from our factory. If you have any enquiry about cooperation, please feel free to email us.
Address: No. 1093, B Zone, No. 2 Xugongqiao Rd, Huaqiao Town, Kunshan City, Suzhou, Jiangsu, China
E-mail: info@kshhroller.com
WebSite: https://www.kshh-roller.com/
